Let’s Talk Food: The science of a good pie crust
If you make a good pie crust, you don’t need to do much more to make a great pie as the crust usually makes or breaks the success of the finished dessert.
If you make a good pie crust, you don’t need to do much more to make a great pie as the crust usually makes or breaks the success of the finished dessert.
According to Harold McGee’s book, “Keys to Good Cooking”: “Pastry making can be a challenge because some recipes work right at the edge of failure. There may be barely enough moisture to hold things together, or just a few degrees separating workable butter consistency from either dough-ripping hardness or dough-weakening softness. The challenge in making pies and tarts is to cook two very different materials — a barely moist dough and a wet filling — so that the dough ends up very dry and crisp and the filling thick and moist.”
ADVERTISING
McGee further says that the keys to making pastry doughs are:
• Measure the ingredients precisely — weighing is the recommended method.
• Keep the ingredients cool or cold — the solid fat must not be too soft.
• Handle the dough as little as possible, just long enough to distribute all the ingredients.
Each of these rules minimizes the development of stretchy gluten in the flour, which would result in a tough pastry that shrinks during baking.
Using pastry flour to make a crumbly or flaky crust, which contains less gluten, works well.
When making bread, the elastic web of protein in the flour gives the dough its structure.
That is not needed in making a crust. I used gluten-free flour to make my crusts so I can also eat the pie and find it produces a very light and flaky crust.
After rolling out the dough, place it in the refrigerator for 5-10 minutes to relax the elastic gluten, especially if you are using all-purpose flour.
When baking the dough, because the crust is rolled out and thin, check it often to avoid overbrowning.
For wet fillings, choose a crumbly crust made with egg. Flaky crusts more readily soak up liquid. A good recipe is a sweet tart crust recipe, which has eggs as an ingredient.
Prebaking the crust in the pan, also called “blind” baking, without the filling helps minimize sogginess. Line the crust with parchment paper and weigh it down with ceramic pie weights or dried beans. When the weights are removed, “dock” the dough by pressing down with fork tines to prevent blistering. You can protect the edges with strips of foil or pie guards.
To further ensure your prebaked pie crust stays dry, coat the finished crust with beaten egg or chocolate, whichever is compatible with your filling. For an egg wash, return the crust to the oven for a few minutes until the coating is dry, then cool before filling the baking.
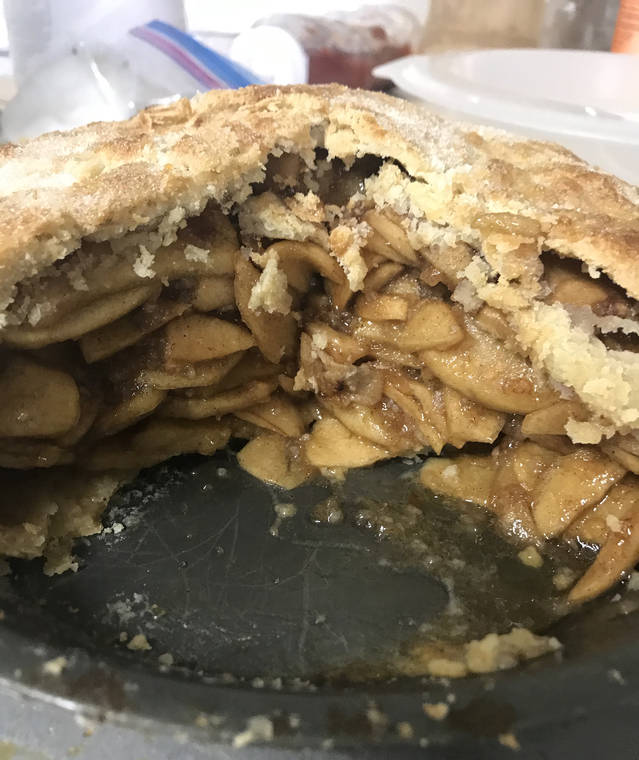
There is nothing like the smell of a fresh apple pie in the oven.
You can hardly wait for it to come out of the oven so you can let it cool an hour, cut it and place a dollop of vanilla ice cream on top!
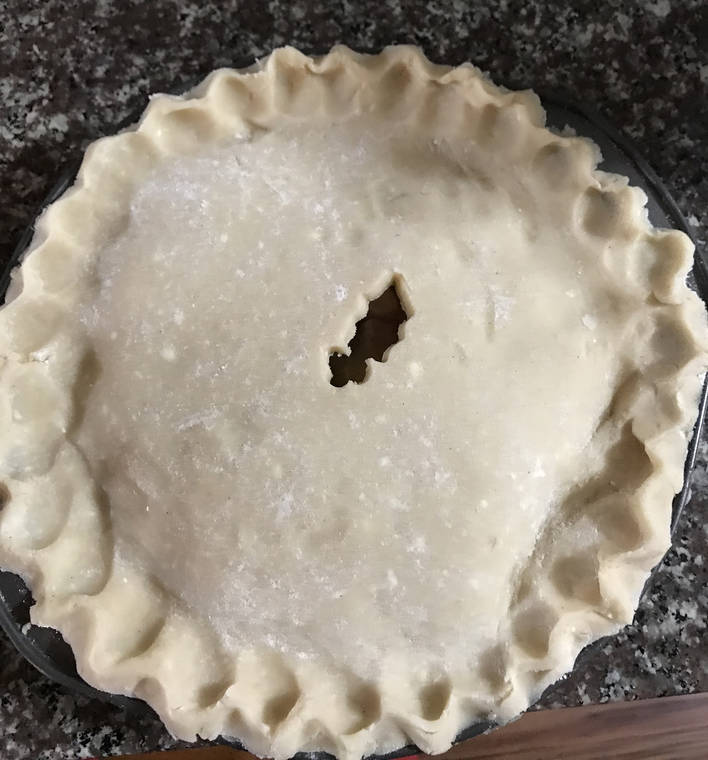
To avoid a dome on the top, thinly slice the apples (do not wedge or cube them), arrange the slices tightly, layering by hand to minimize the air pockets, and vent the top crust, at least three slits, to allow the steam to escape.
Perfect Apple Pie
From: Dana Corwin, Food &Wine editor in chief
Makes: one 9-inch pie
In a food processor, pulse:
2 1/2 cups all-purpose flour or gluten-free flour
1 teaspoon salt
1 teaspoon sugar
Add, pulse until resembles small peas:
1 stick cold unsalted butter, cut into tablespoons
1/2 cup cold solid vegetable shortening
Add and pulse until evenly moistened:
1/3 cup ice water
Squeeze some of the dough, if it crumbles, add 1 tablespoons of ice water and pulse again.
Turn dough onto work surface and gently press with the heel of your hand, then gather into a ball. Divide in half and form into disks (I weigh the dough and divide, and weigh to be sure they are equal).
Wrap in plastic wrap and refrigerator at least 30 minutes or up to 2 days.
On a lightly floured surface, roll one dish into a 13-inch round, 1/8 inch thick. Fit into a 9-inch pie plate and trim the overhang to 1/2 inch. Refrigerate the crust. Roll the second disk into a 12-inch round, 1/8 inch thick, cover with plastic, refrigerate.
Peel and core, slice:
4 1/2 pounds Golden Delicious or Fuji apples
Place in a large bowl, sprinkle with:
Juice of 1 large lemon
In a large skillet, over low heat, melt:
1 stick unsalted butter
Stir in:
1 cup packed brown sugar
Sliced apples
Increase heat to high, cook until apple slices are tender but not mushy. Do not overcook. Add:
1/4 teaspoon cinnamon
1 1/2 tablespoons tapioca
Cook until thickened.
Place on a baking sheet and allow to cool until at room temperature, 40 minutes.
Preheat oven to 450 degrees. Layer the sliced apples in the pie shell, drizzle the juices over them. Moisten the pie rim with a pastry brush.
Using a decorative cutout, make three vent holes in the top crust. Center the top crust over the apples and press overhang, then fold it under and crimp.
Dissolve:
2 teaspoons milk
1 teaspoon sugar
Lightly brush the top of the pie with milk and sugar mixture.
Bake pie for 25 minutes, or until the crust is gold brown, reduce oven temperature to 375 and bake for 20 more minutes.
Transfer the apple pie to a wire rack and let cool for least one hour before cutting into wedges and serving.
Email Audrey Wilson at audreywilson808@gmail.com.


